Search
This guide will show you how to map custom properties from your HRIS and import them as fields through the integration.
Integrations help ensure that employee data stays up to date in Thrive by syncing information directly from your HRIS, including any additional custom fields your organization uses.
Begin by navigating to the Integrations section in your account and opening the HRIS integration you want to configure.
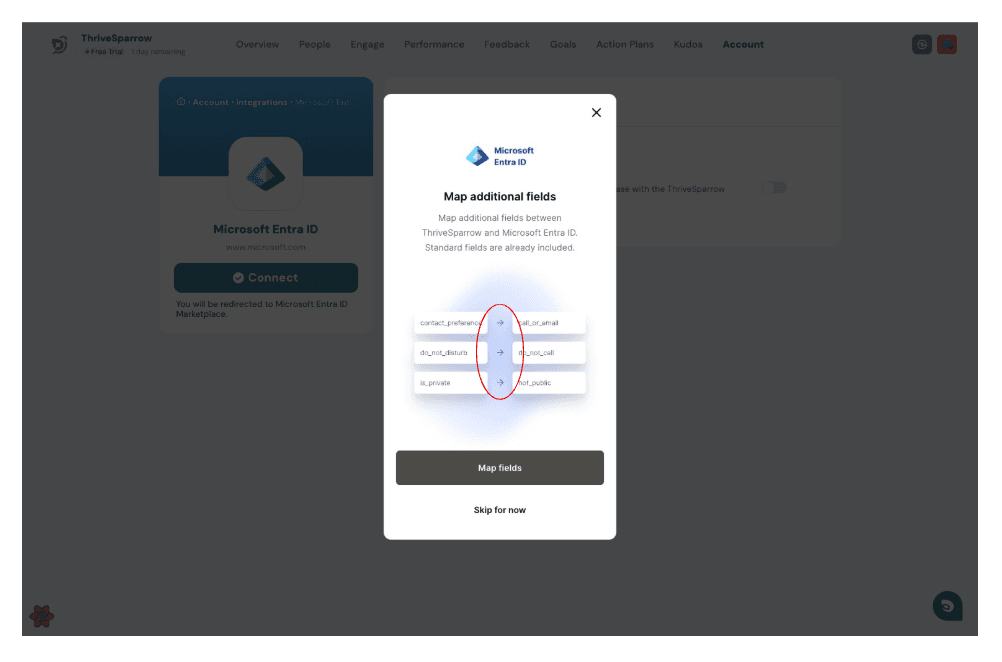
You can now create mappings between fields from your HRIS and the corresponding properties.
This is useful when you want to track or segment employees based on specific fields such as department codes, locations, roles, or any custom attributes defined in your HRIS.
Click Map Fields to start creating custom mappings.
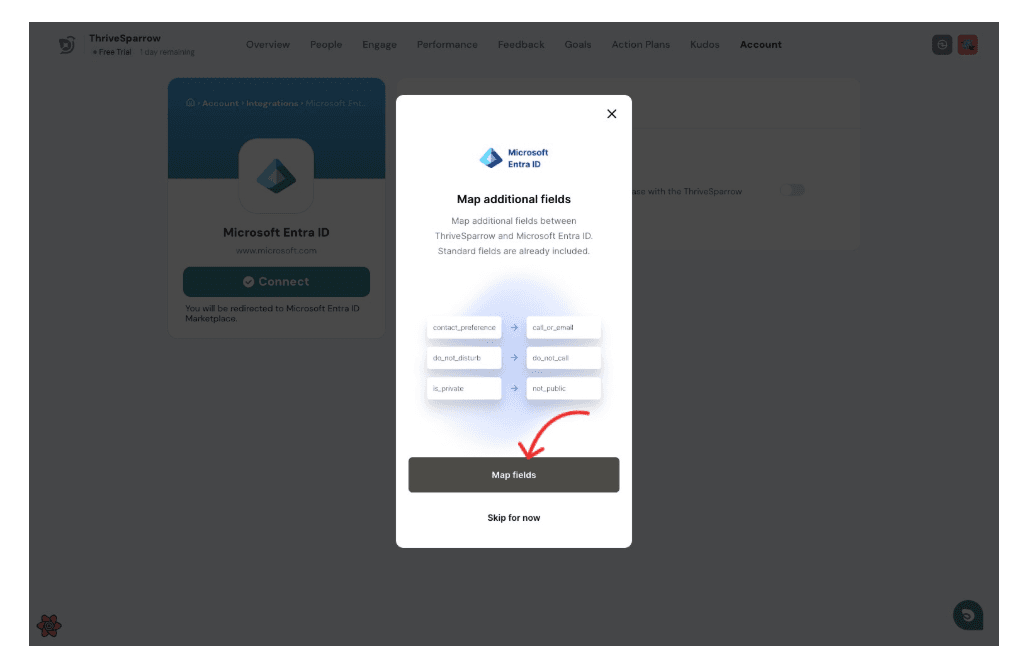
You can create mappings between HRIS fields and the corresponding properties that will be used in Thrive.
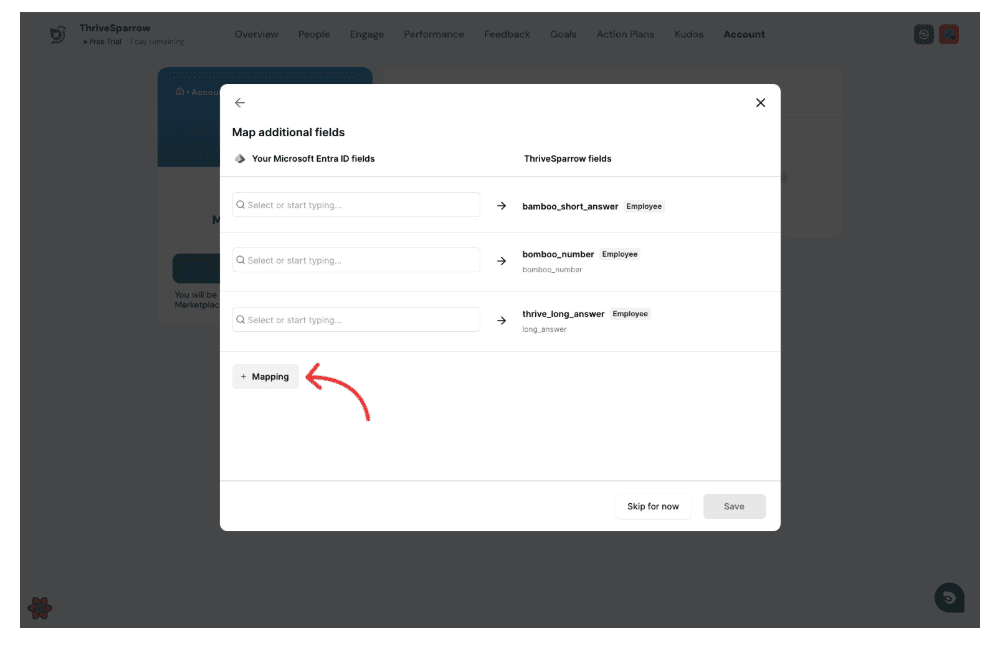
Select the HRIS field:
Choose the HRIS field that you want to import into Thrive.
Click the input field to choose the HRIS field you want to map.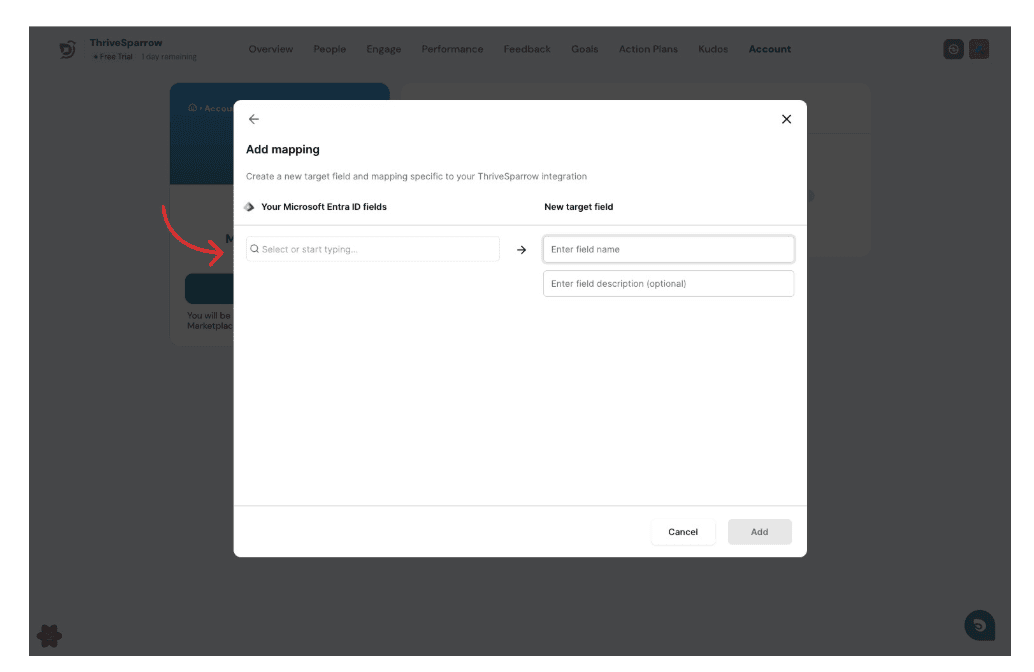
Select the field you want to map from your HRIS.
Make sure you select the correct field, as this determines the data that will be synced into Thrive.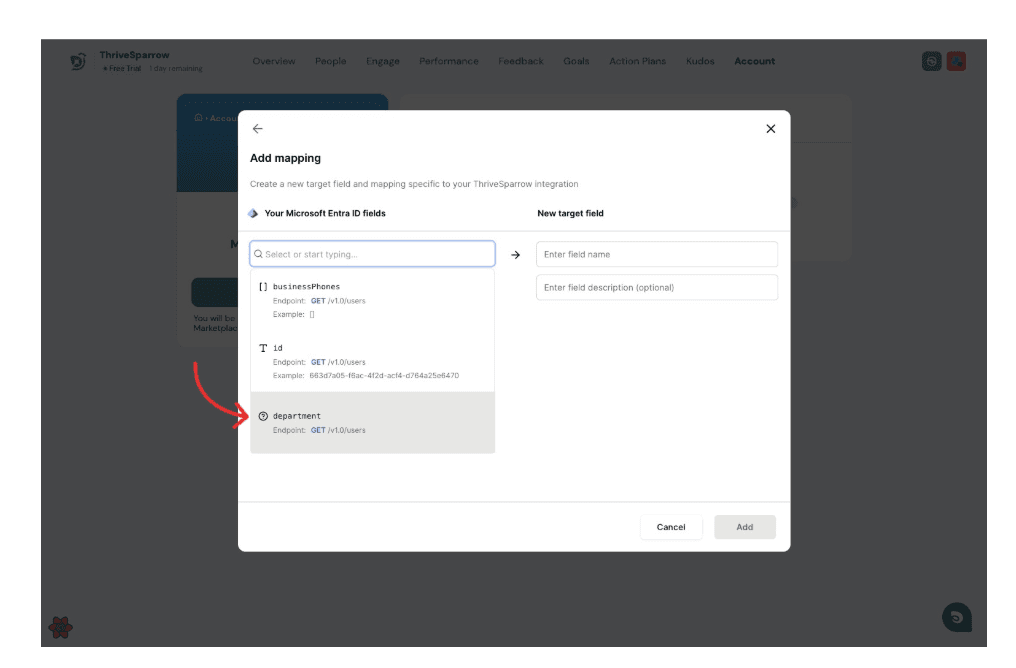
After selecting the HRIS field, define the corresponding field that will be created.
Enter a Target Name for the field.
You may also add a description for the field if needed.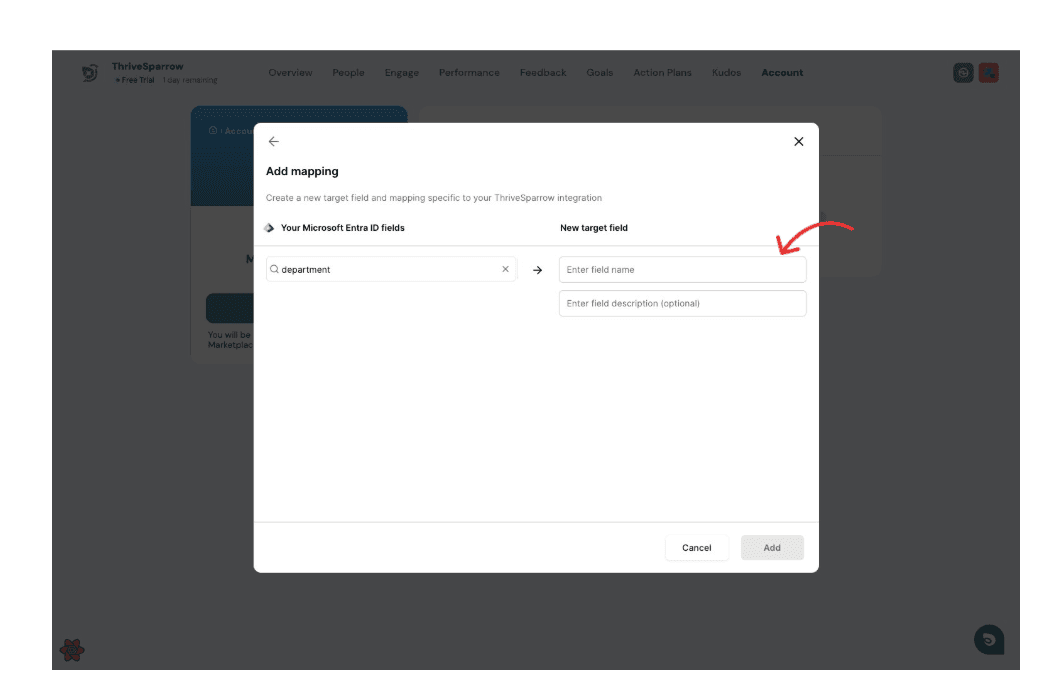
Create the Field Mapping:
Once the details are entered, create the mapping.
Click Add to map the selected HRIS field to the target field.
The mapping is now created and will be used during employee data import.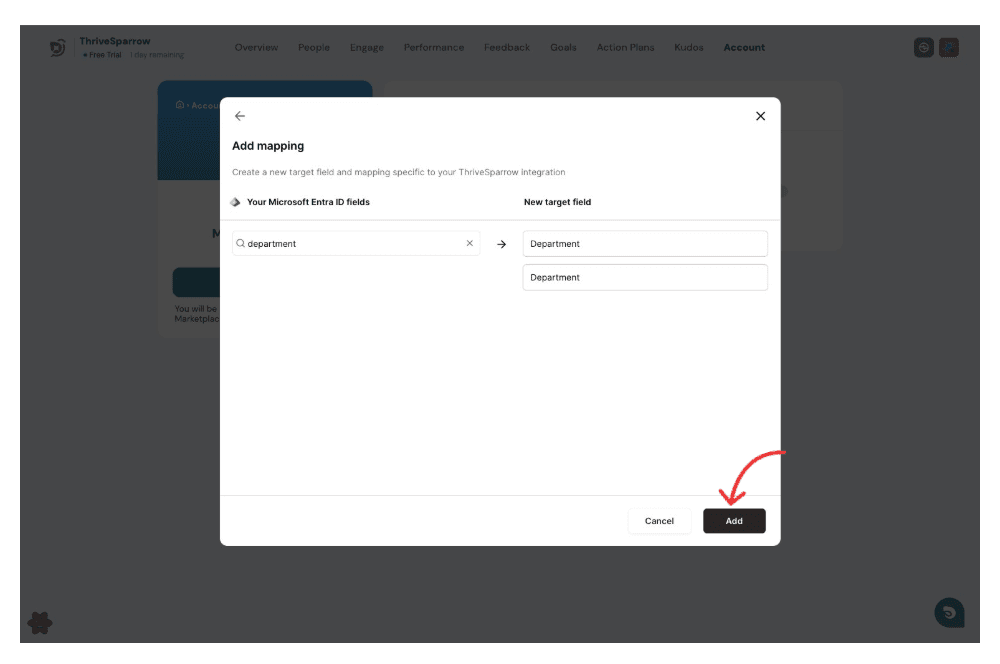
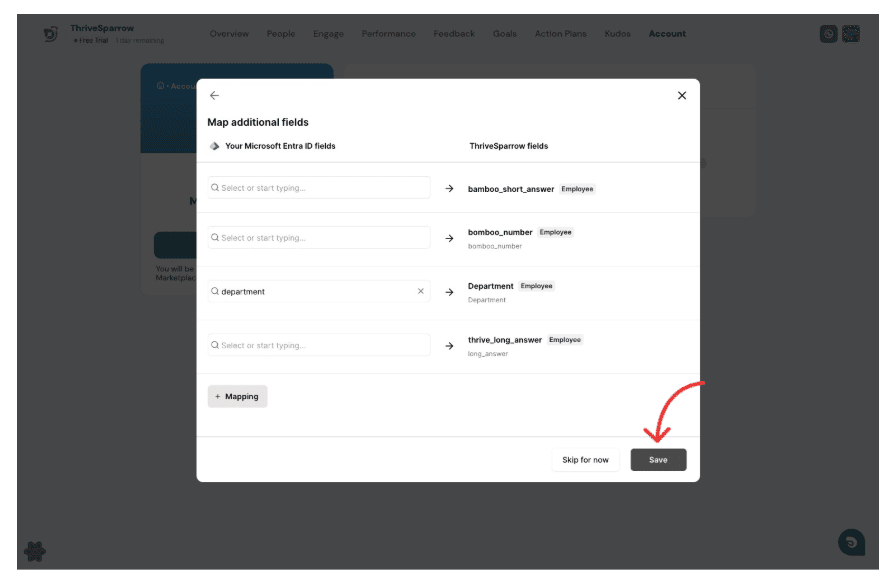
Click Save to complete the mapping.
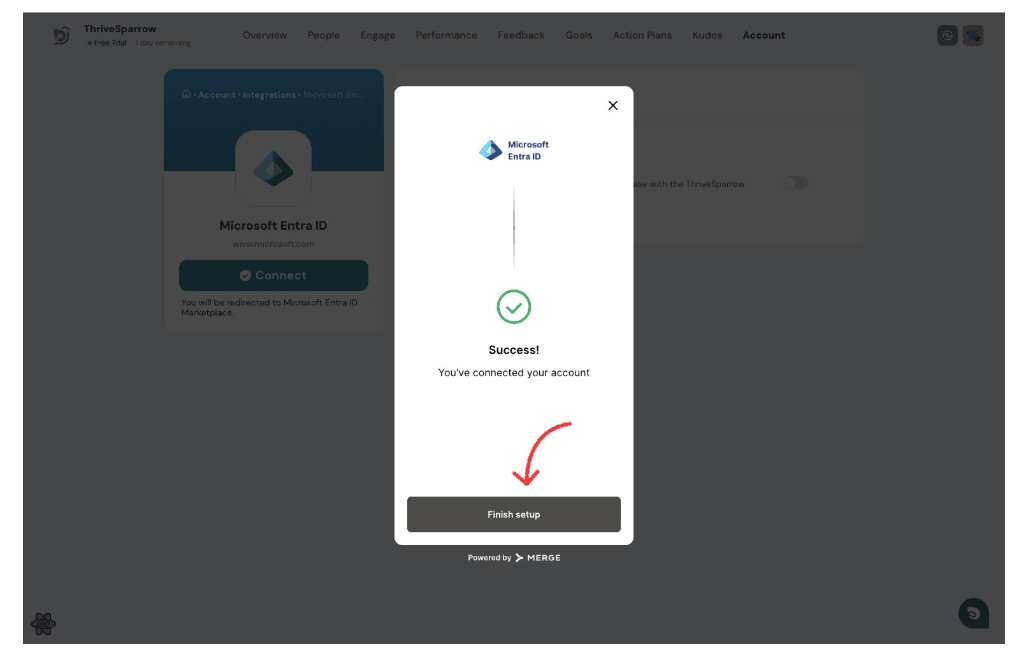
Click Finish Setup to complete the configuration.
At this stage, the integration is configured, but employee data will not be imported until employee import is enabled.
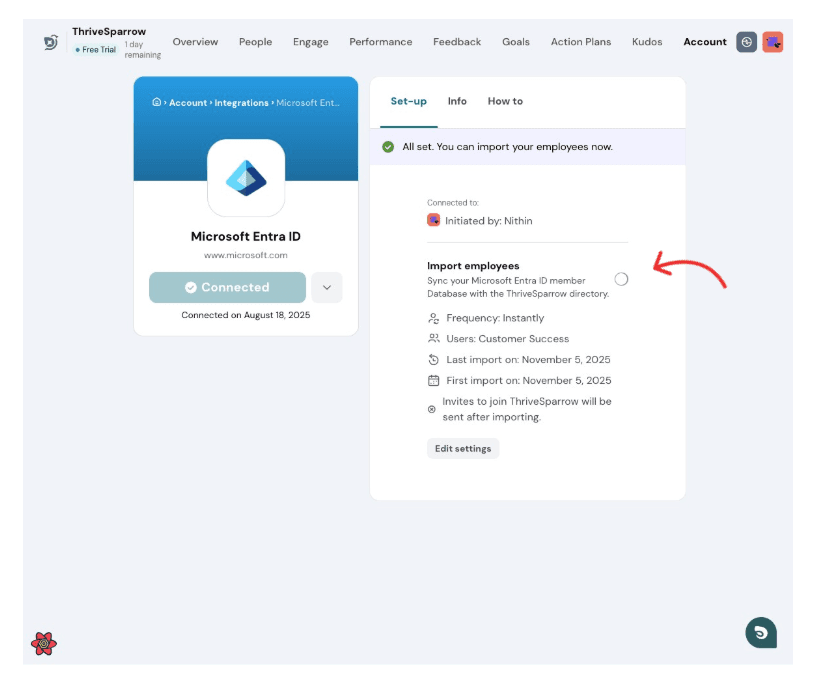
Enable Employee Import
Please wait until the sync process is complete before importing employees.
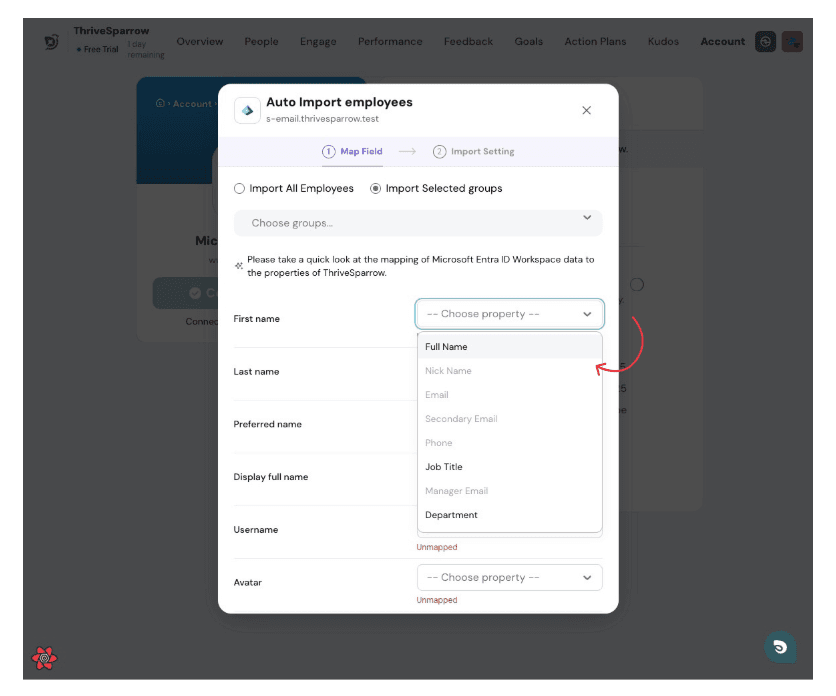
A modal will appear where you can map the MERGE target fields to the corresponding properties in Thrive.
Click “Save and Continue” to save your mapping.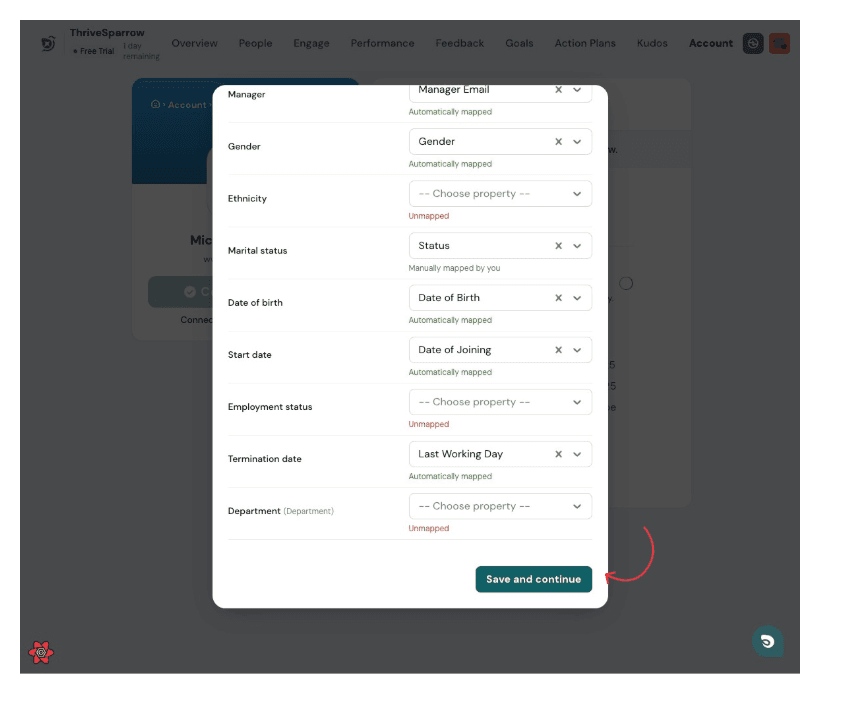
Click “Save Configuration” to save your settings and begin importing employees.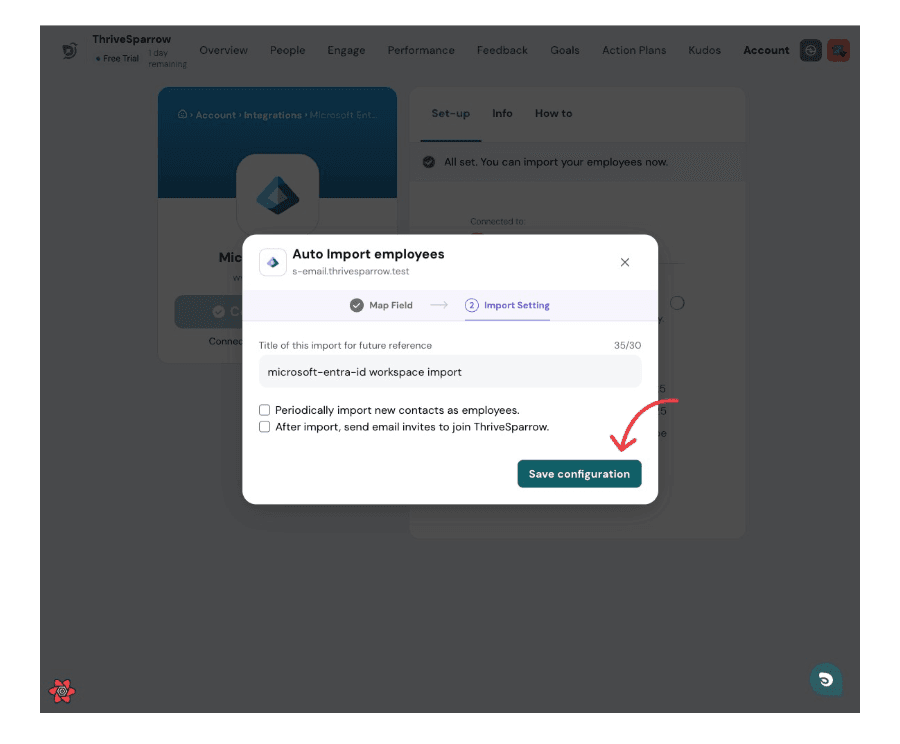
Custom properties from your HRIS will now be available within Thrive and can be used for segmentation, reporting, and other workflows.
If you have any questions or need assistance, please feel free to reach out to our support team.
Powered By SparrowDesk