Configuring Single Sign-On (SSO) with Microsoft Entra ID
Venkata
August 2, 2024
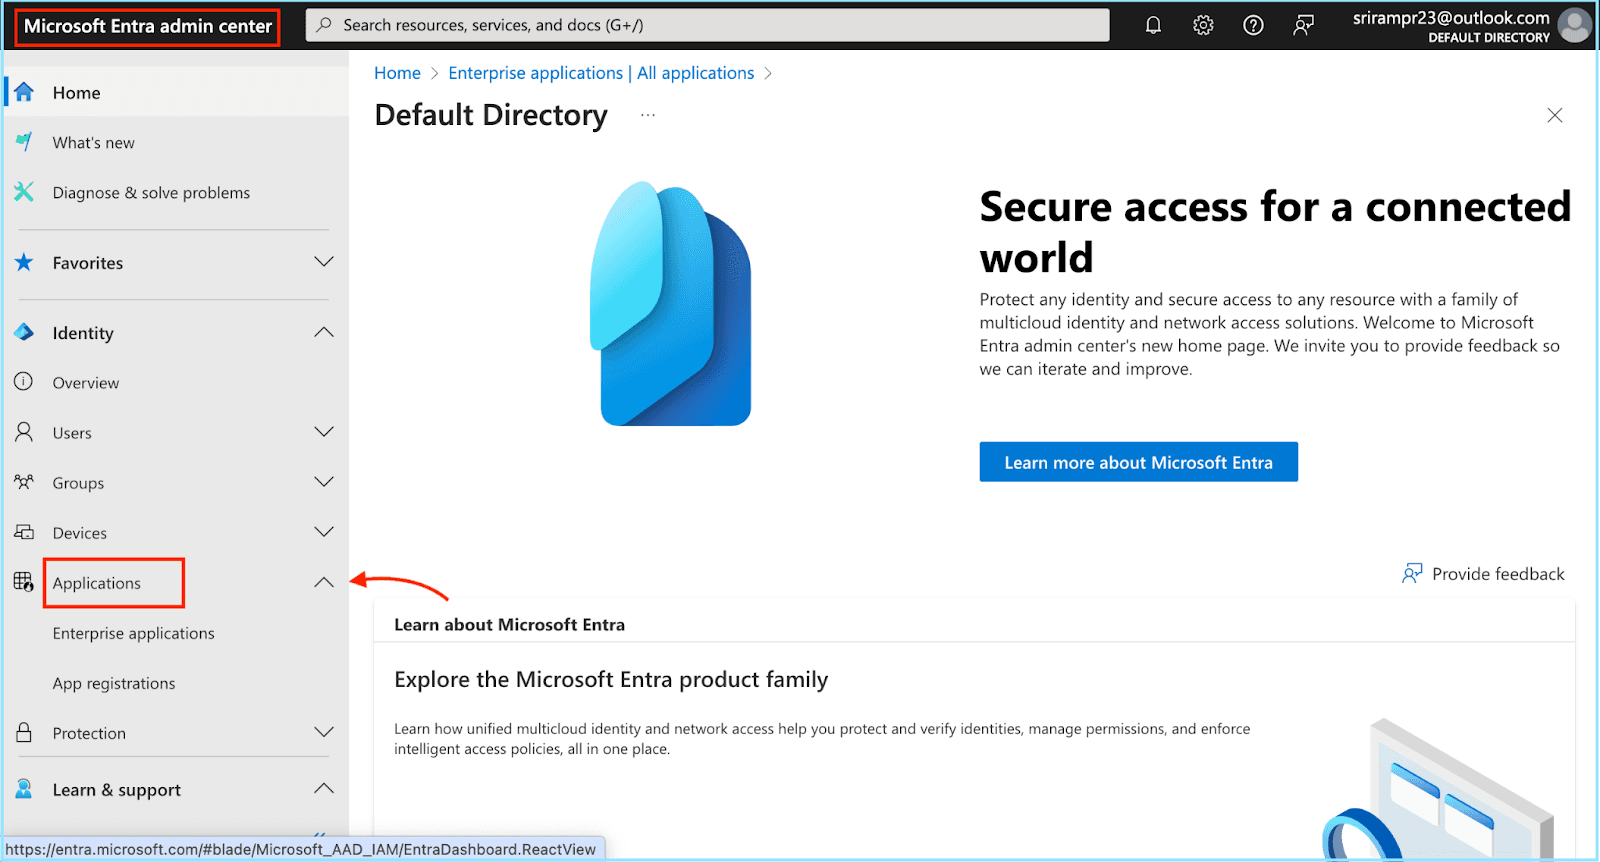
Go to the “Microsoft Entra ID Admin Center” and log in to your account as an administrator.
In the left-hand menu, select the “Applications” section and register a custom app for ThriveSparrow.
Navigate to “Enterprise Applications” and choose your custom app.
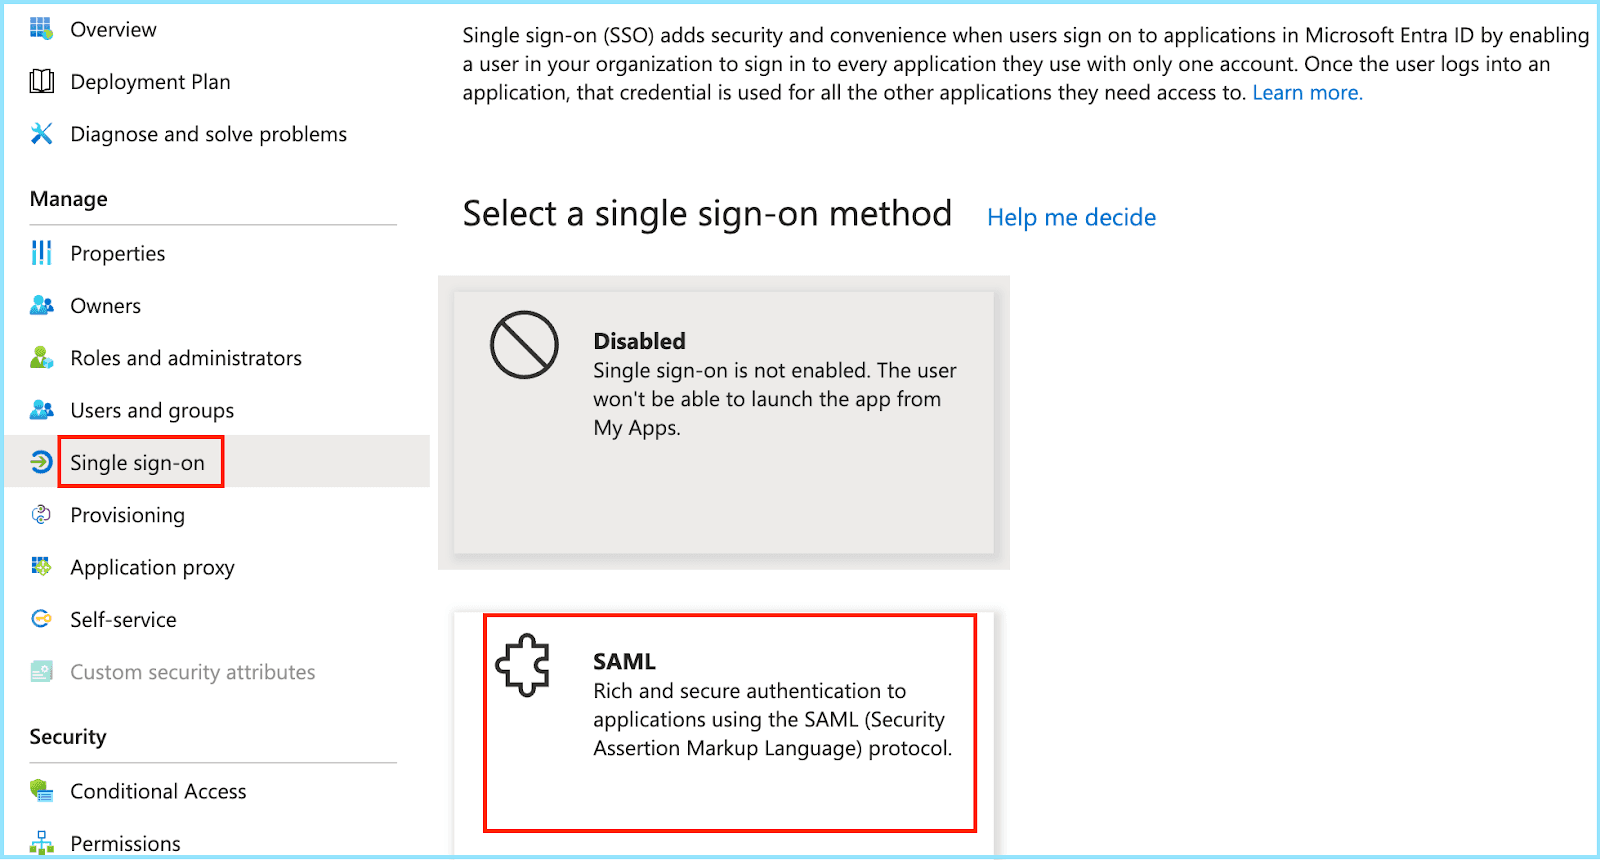
Under the Manage section, select “Single Sign-On” and then click on “SAML”.
To set-up IdP:
Enter your ThriveSparrow account URL with “/api/metadata.xml” at the end of the address bar.
From ThriveSparrow metadata, here are the two essential URLs you will need for setting up SSO in your IDP:
Entity ID URL
ACS location URL
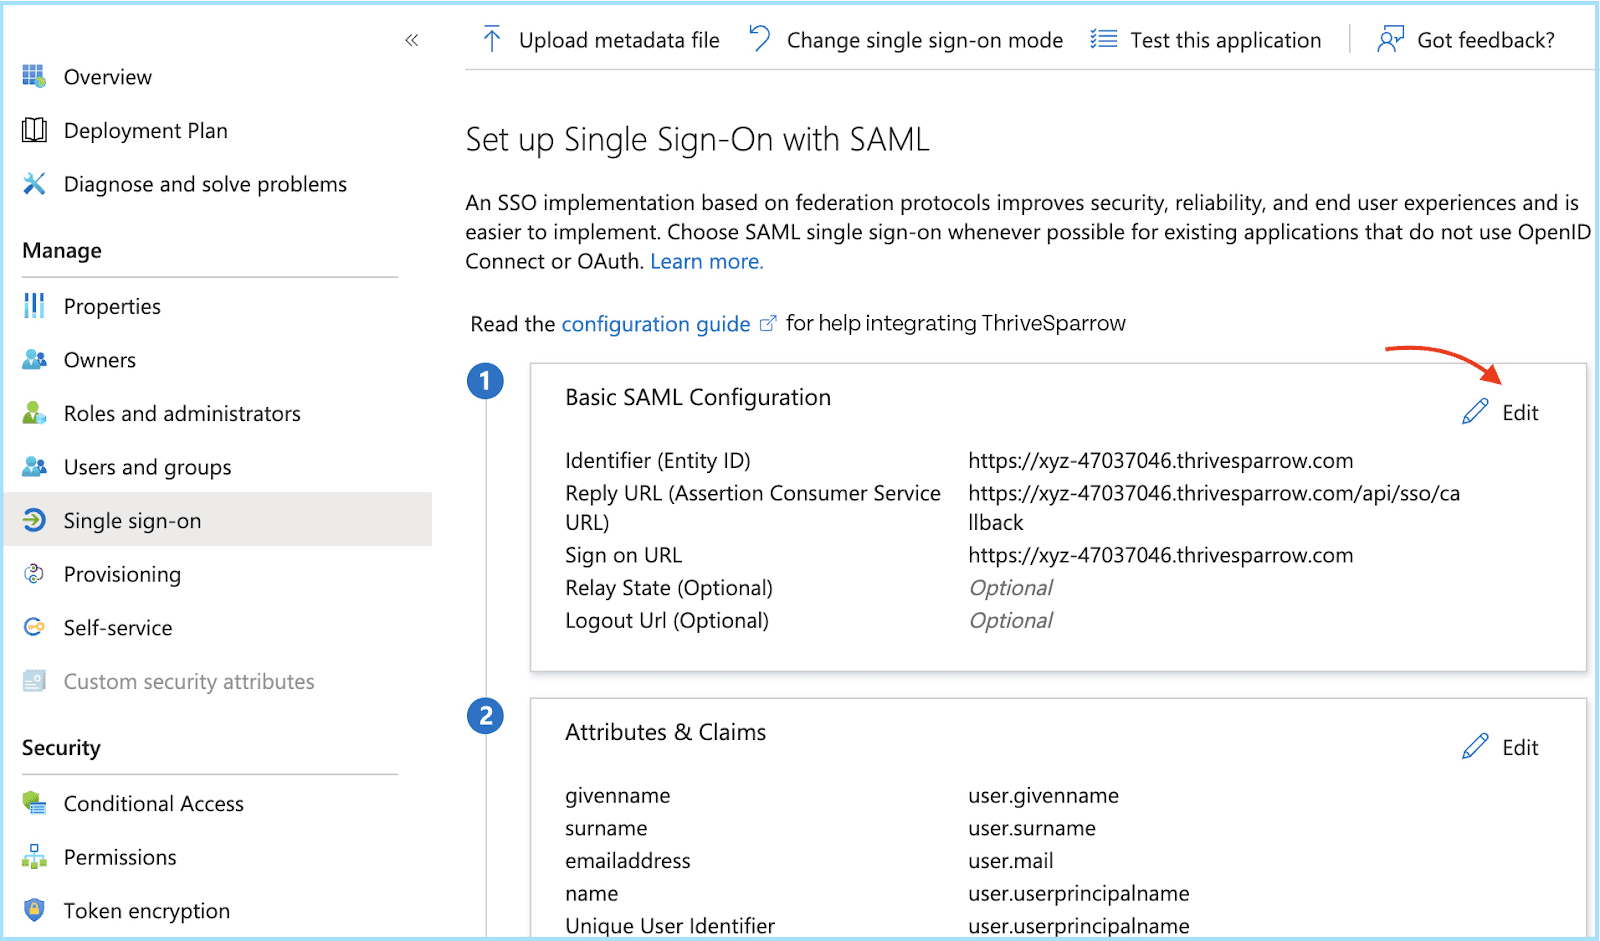
Retrieve the Entity ID, Login URL, and ACS URL from ThriveSparrow and add them to your SAML configuration in Microsoft Entra ID.
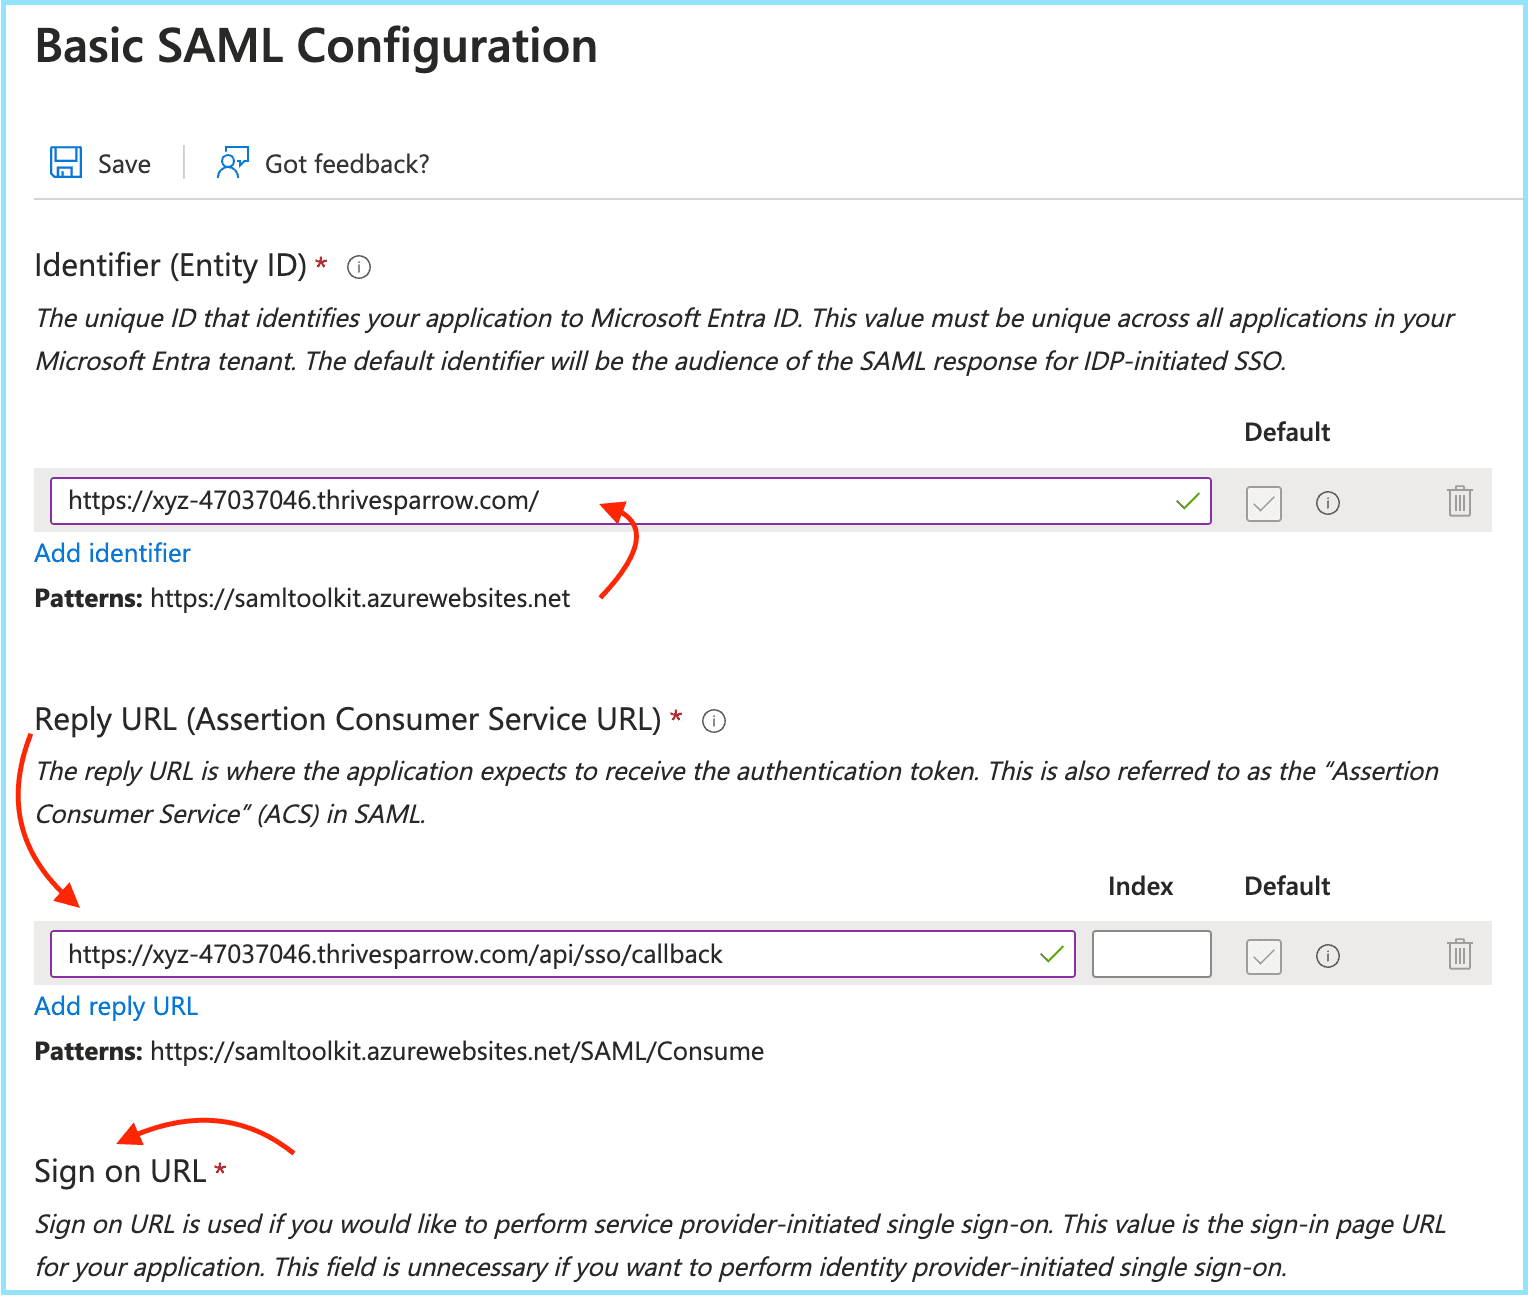
6. You can add this information by clicking on the edit icon next to the “Basic SAML Configuration” section.
7. Under Attributes & Claims in Microsoft Entra ID, select Edit > Add New Claim, and map the Unique User Identifier (Name ID) to the user.mail value.
8. Next, go to the SAML Certificates section and download the Certificate (Base64).
9. Let's add SSO to ThriveSparrow
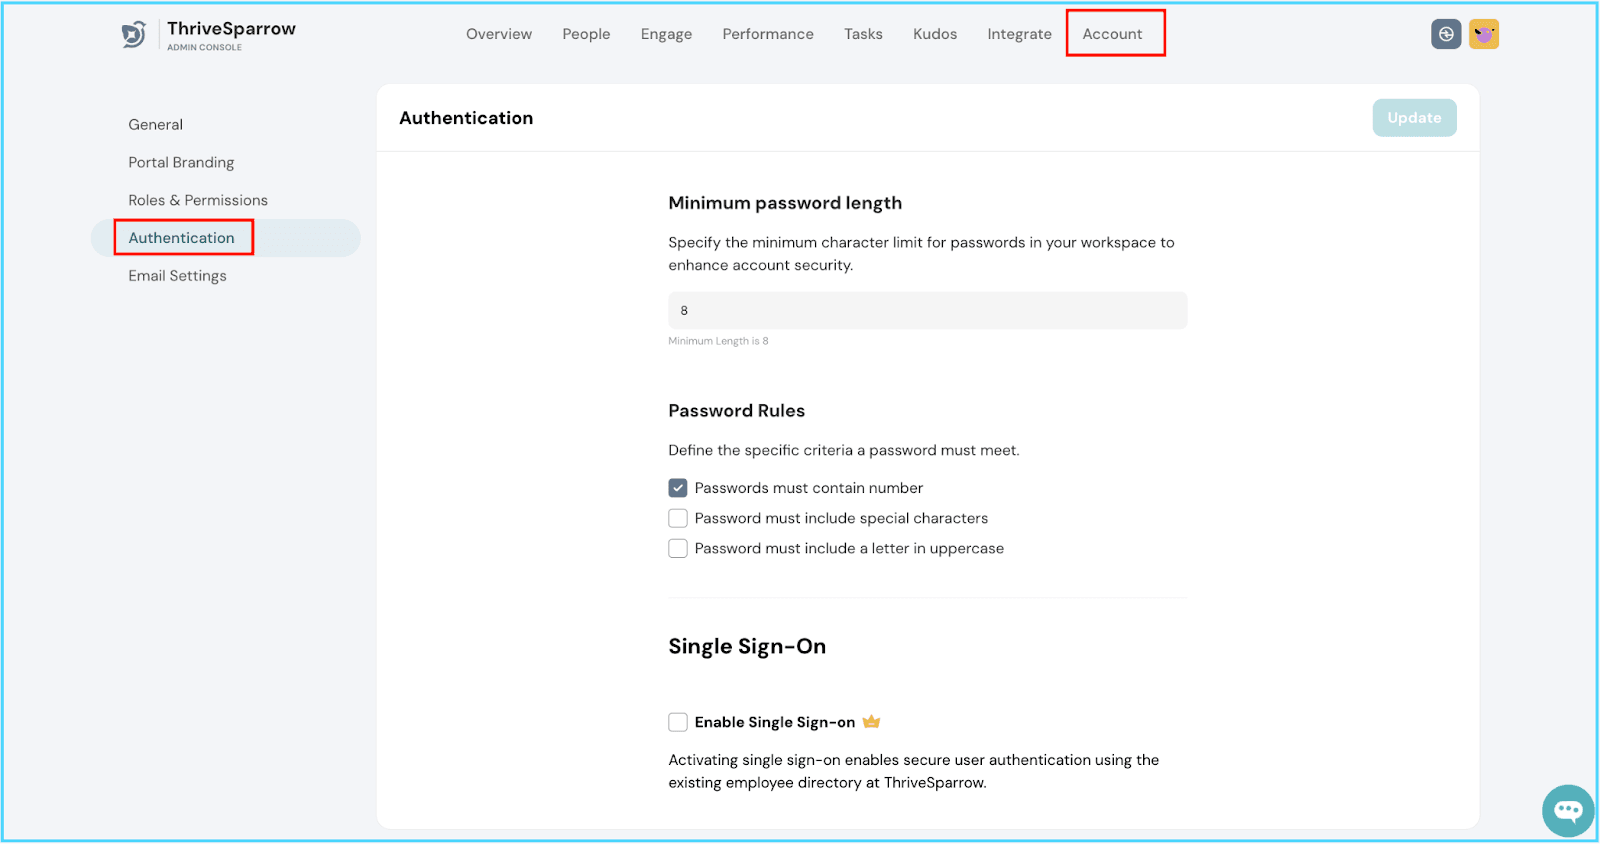
Go to the “ThriveSparrow Homepage” and head over to "Accounts" in the navigation bar, and then choose "Authentication" from the sidebar menu.
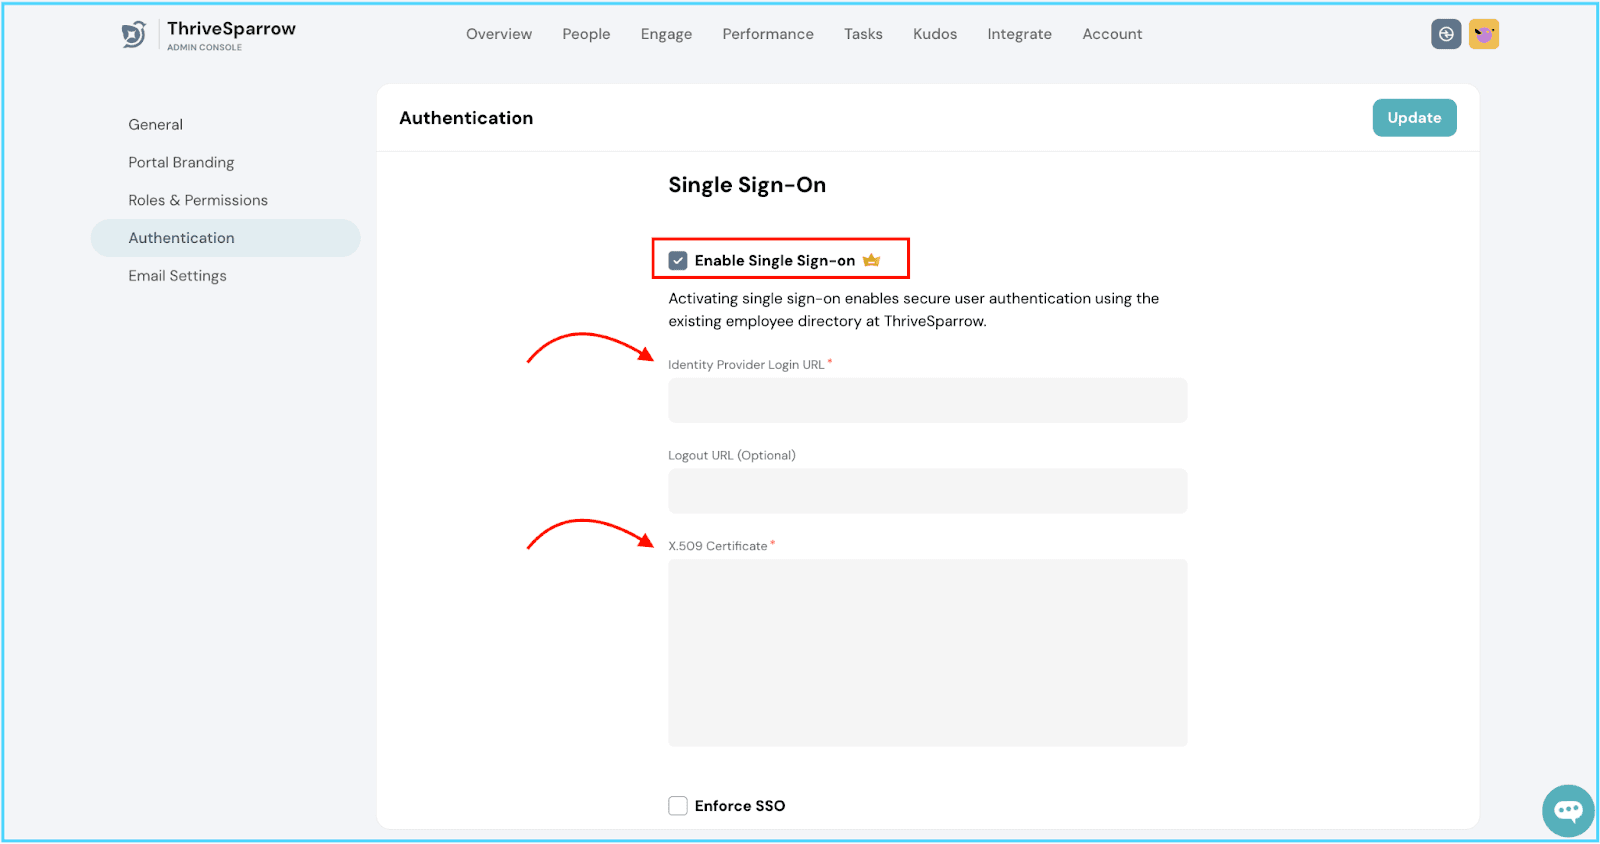
In the Single Sign-On section, check the "Enable Single Sign-On" box. Once ticked, additional form fields will appear automatically. Fill in these fields with the necessary details you received when setting up your Identity Provider (IdP). You must fill in these two compulsory input fields:
IdP Login URL
Certificate- Base64 (encrypted text) – obtained during the IdP setup process
Logout URL- optional
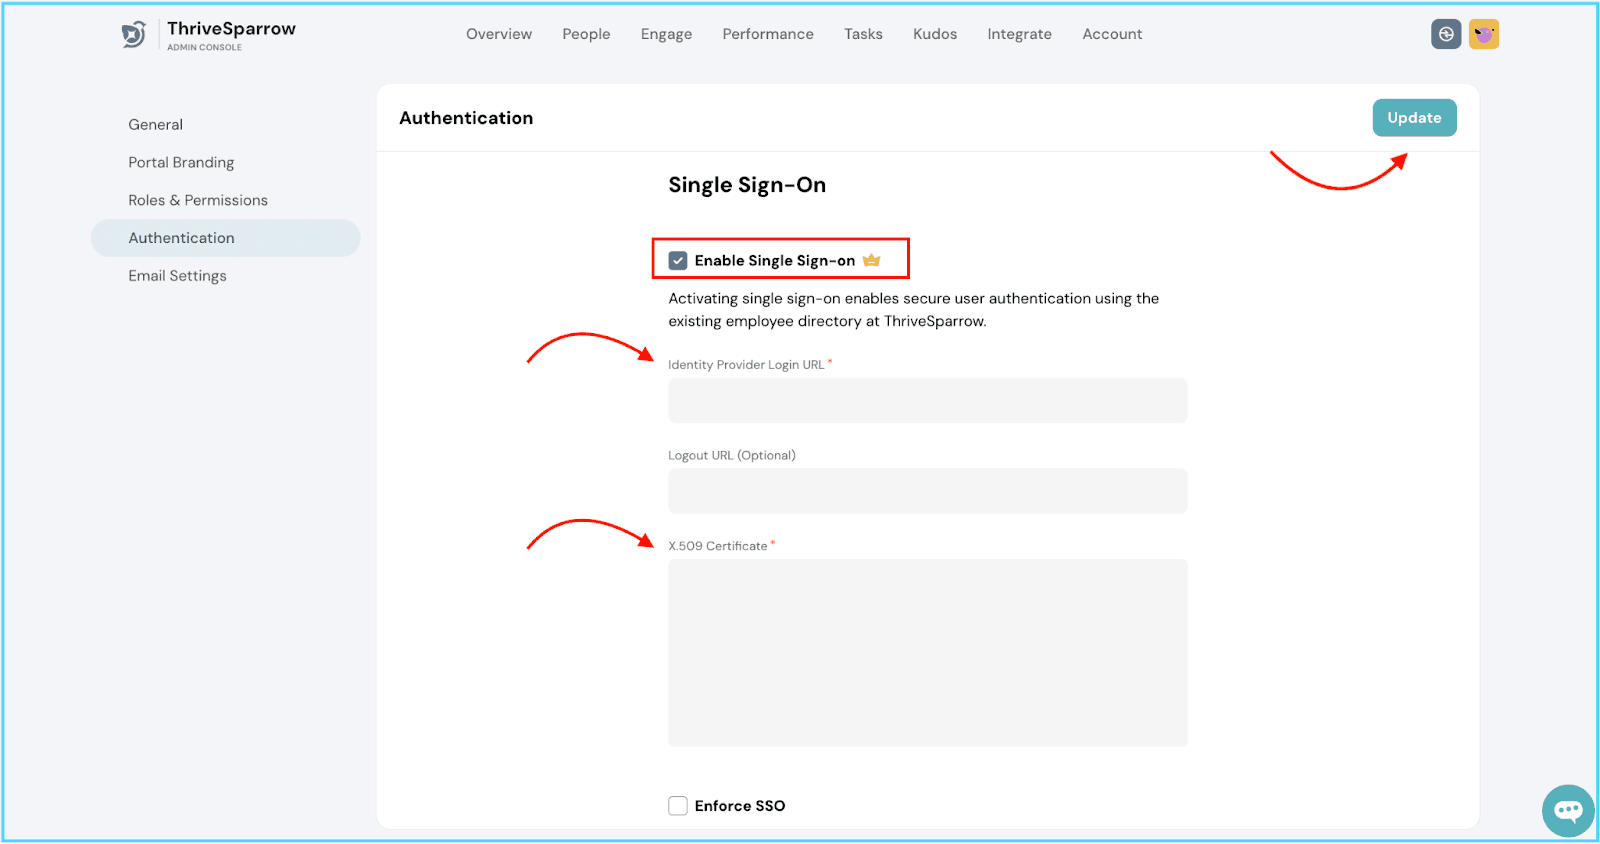
Lastly, decide whether to check the "Enforce SSO" box based on your objective and hit the “Update” button.
If you need any help along the way, we're just a chat away.