Search
Setting up SSO for ThriveSparrow is pretty straightforward, but before that let’s understand a few things:
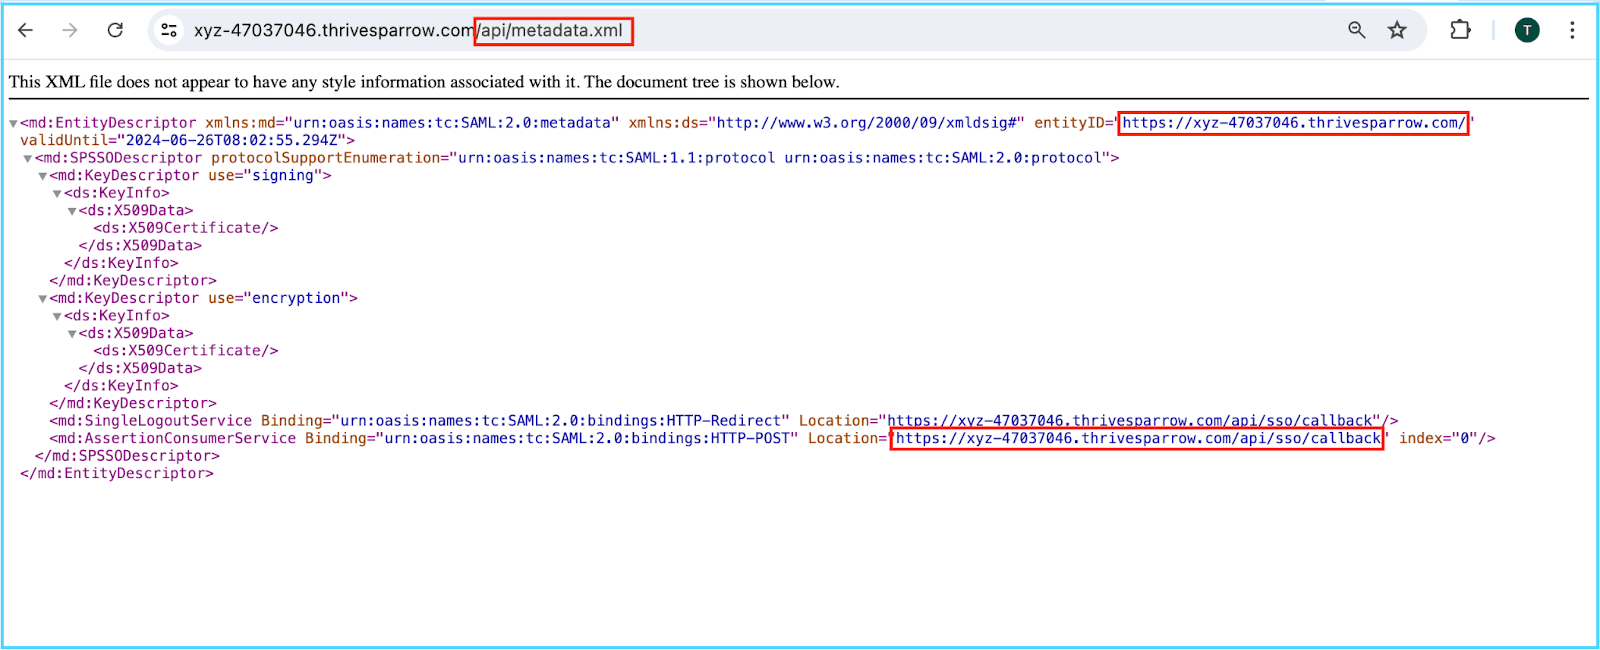
P.S We support SAML 2.0
Now before proceeding, make sure you have admin access to both ThriveSparrow and your IdP. Next, ensure you’ve added ThriveSparrow as a custom app in your IdP.
To set-up IdP:
Let's add an SSO to ThriveSparrow
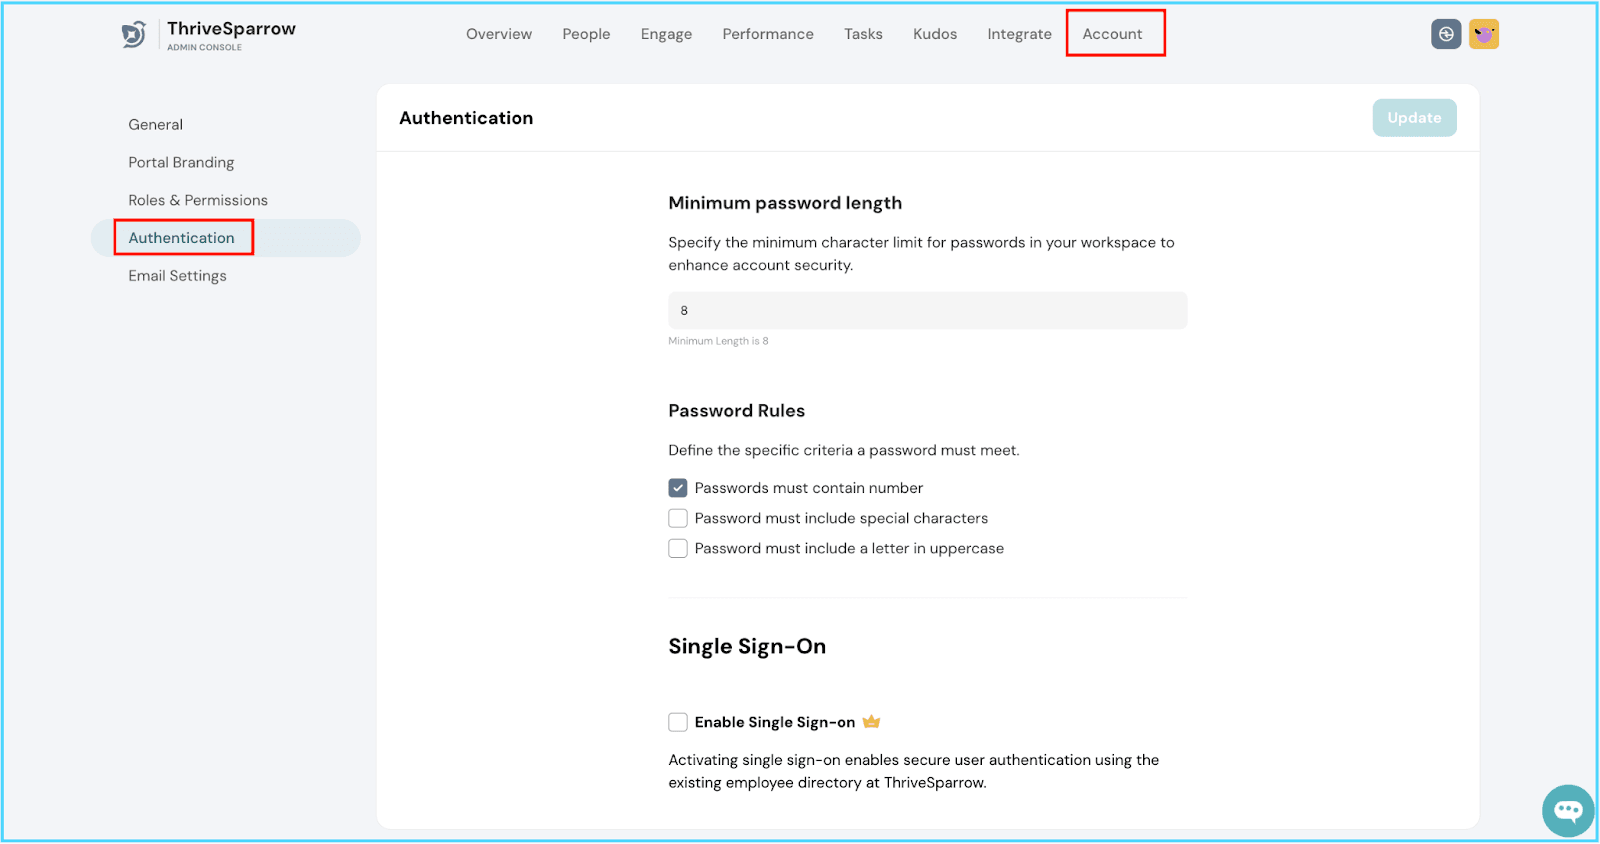
Step 1: Go to the “ThriveSparrow Homepage” and head over to "Accounts" in the navigation bar, and then choose "Authentication" from the sidebar menu.
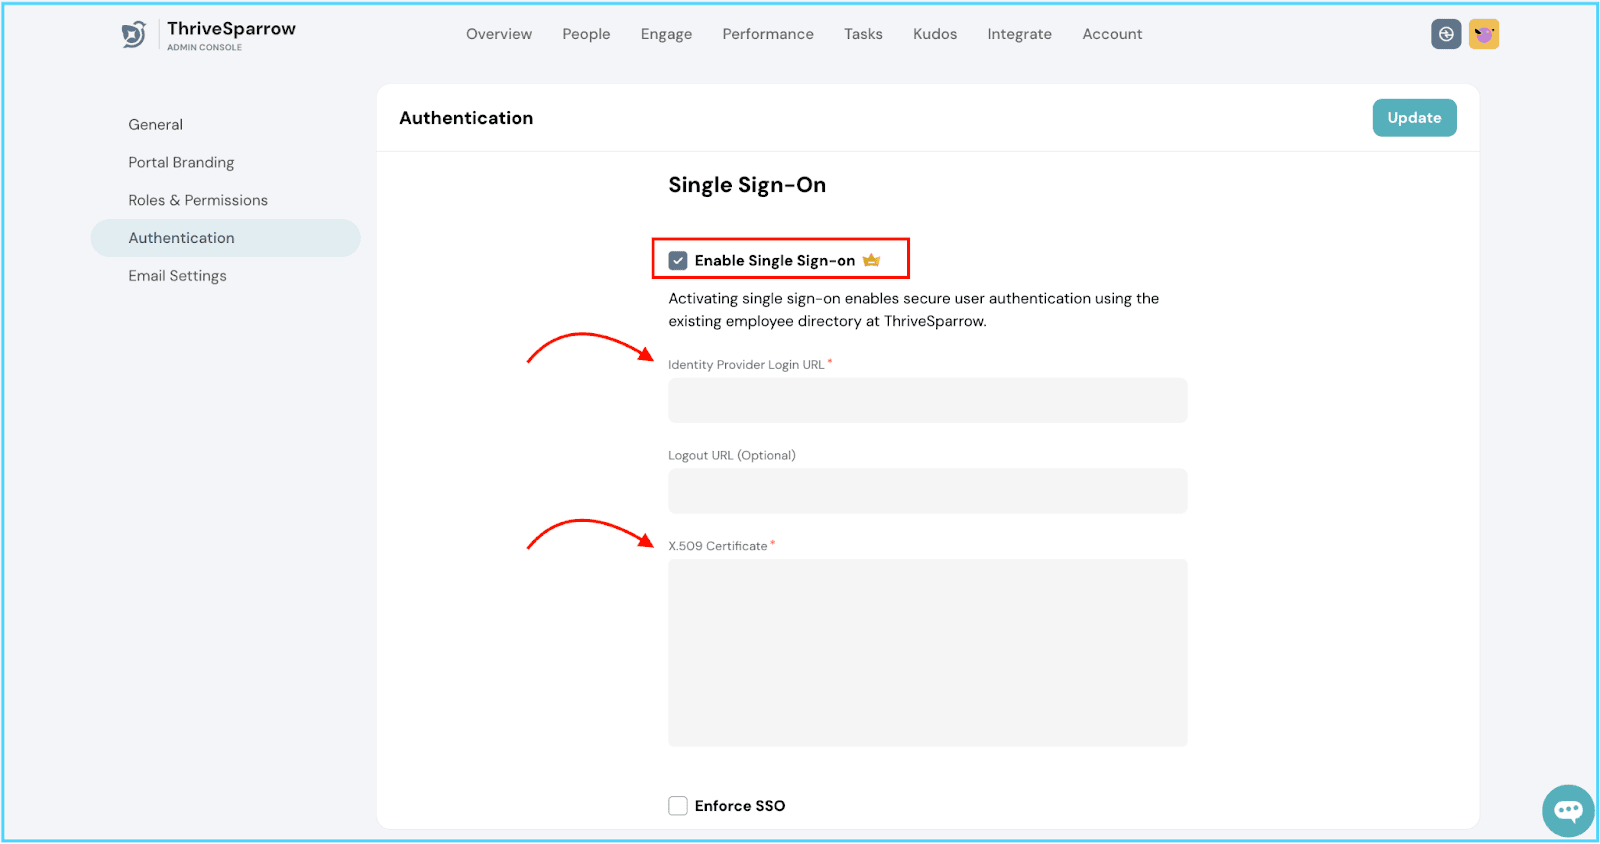
Step 2: In the Single Sign-On section, check the "Enable Single Sign-On" box. Once ticked, additional form fields will appear automatically. Fill in these fields with the necessary details you received when setting up your Identity Provider (IdP). You must fill in these two compulsory input fields:
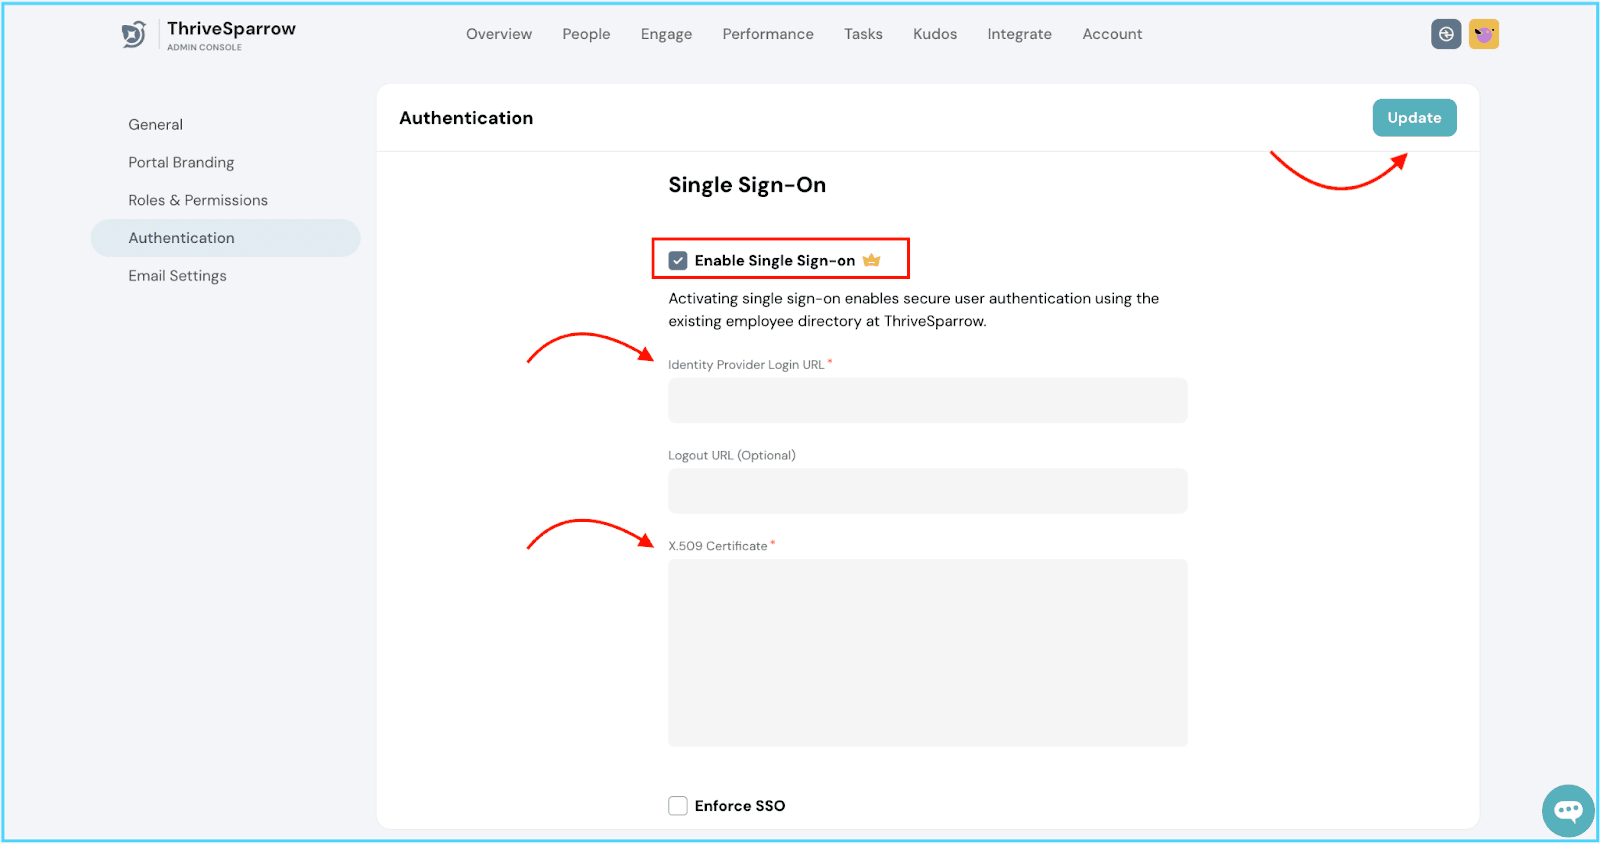
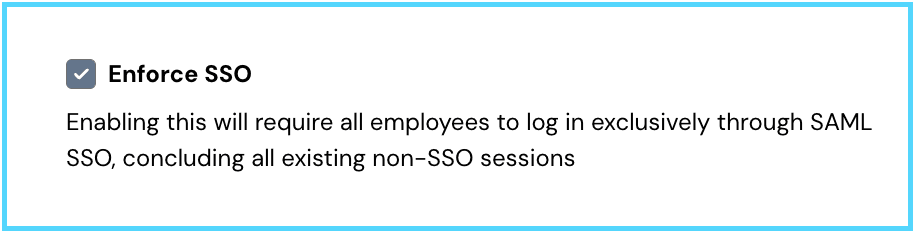
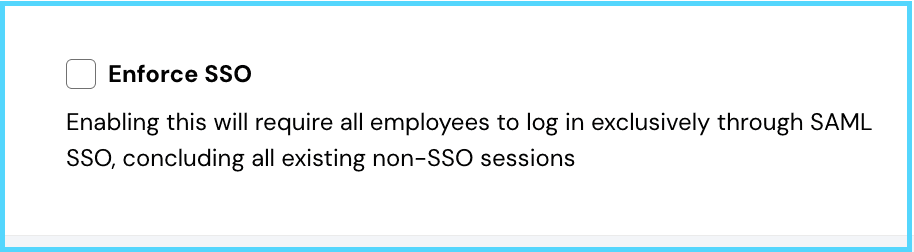
Step 3: Lastly, decide whether to check the "Enforce SSO" box based on your objective and hit the “Update” button.
#1 If you select the "Enforce SSO" checkbox:
Any registered user will only see the "Login with SSO" screen upon entering their email in ThriveSparrow. They will be redirected to the IdP login page, if they are not already signed in during their current browser session.
#2, If you don’t check it:
Users will need to either enter the password or click on "Login with SSO."
Edge case 1: If a password is not initially set by the user (common when the admin sets up SSO first and adds users to the ThriveSparrow Directory later), we will send an email prompting them to set up their password if the admin disables SSO at a later time.
Edge case 2: Once SSO is set up, changing the custom domain is not possible and will be blocked. To change the domain name, you must first disable SSO, update the domain name, and then set up the entire SSO process again from the beginning.
Edge case 3: Super admin can always bypass the SSO if needed by going to app.thrivesparrow.com/login . This is to ensure that admins can still access ThriveSparrow if SSO breaks.
Feel free to reach out if you have any questions or concerns
Powered By SparrowDesk